PaddyPost supports Mastodon, allowing you to schedule and manage posts directly from your account. Follow these steps to connect your Mastodon profile seamlessly.
Step 1: Navigate to Social Accounts
- Log in to your PaddyPost account.
- In the left-hand menu, click Social Accounts under the Configuration section.
- Click Add Account to begin the connection process.
Step 2: Select Mastodon
- In the pop-up window, find Mastodon from the list of supported platforms.
- Enter your Mastodon server (e.g. "mastodon.social")
- Click Next to proceed.

Step 3: Log in to Mastodon
- A new window will open, directing you to your Mastodon server.
- Enter your Mastodon email and password.
- Click Log In to authenticate your account.

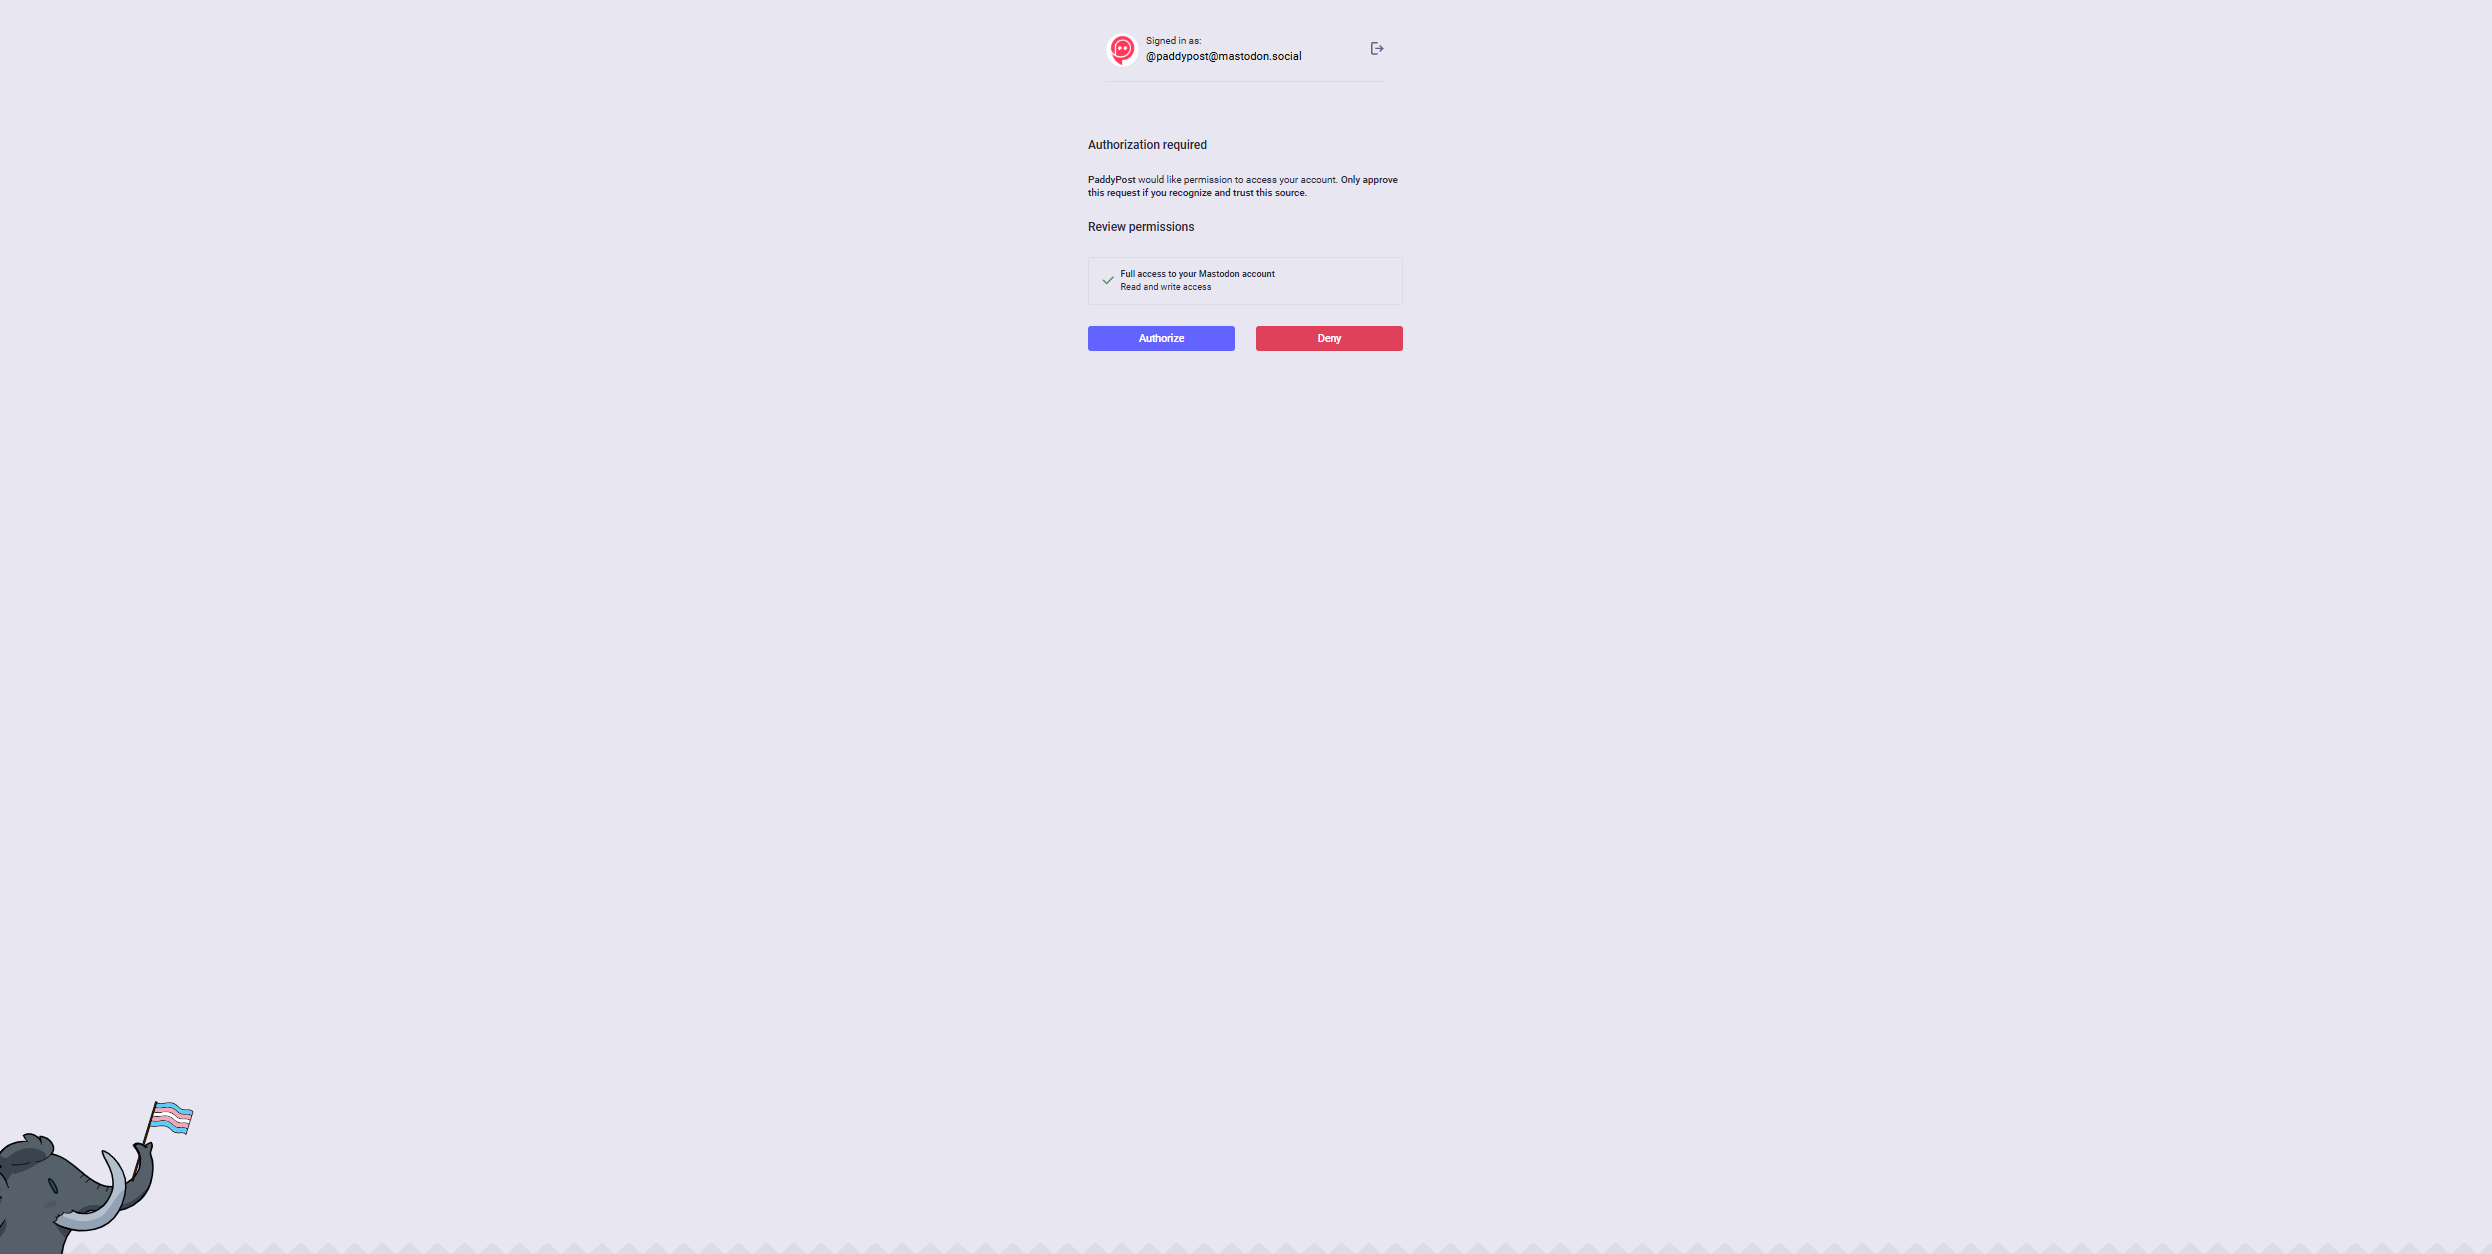
Step 4: Grant Permissions
- After logging in, you’ll be asked to authorize PaddyPost to access your Mastodon account.
- Review the requested permissions and ensure all permissions are granted for PaddyPost to function correctly.
- Click Authorize to complete the connection.
Step 5: Confirmation
- Once authorized, you’ll be redirected back to PaddyPost, where your Mastodon account will now appear in the Social Accounts section.
- You can now start scheduling posts directly to your Mastodon profile!
Why Connect Mastodon to PaddyPost?
✅ Schedule & Manage Posts – Plan and automate Mastodon content.✅ Streamlined Workflow – Manage all your social accounts from one dashboard.✅ Secure & Efficient – Maintain full control over your posts while using PaddyPost’s scheduling tools.
Now you're all set! 🎉 If you have any issues, reach out to PaddyPost Support for assistance. 🚀